


Troubleshooting Guide
How to diagnose and fix the most common issues
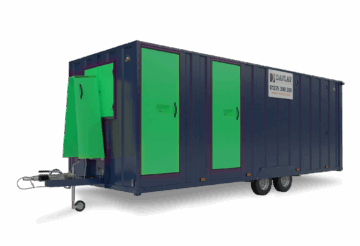
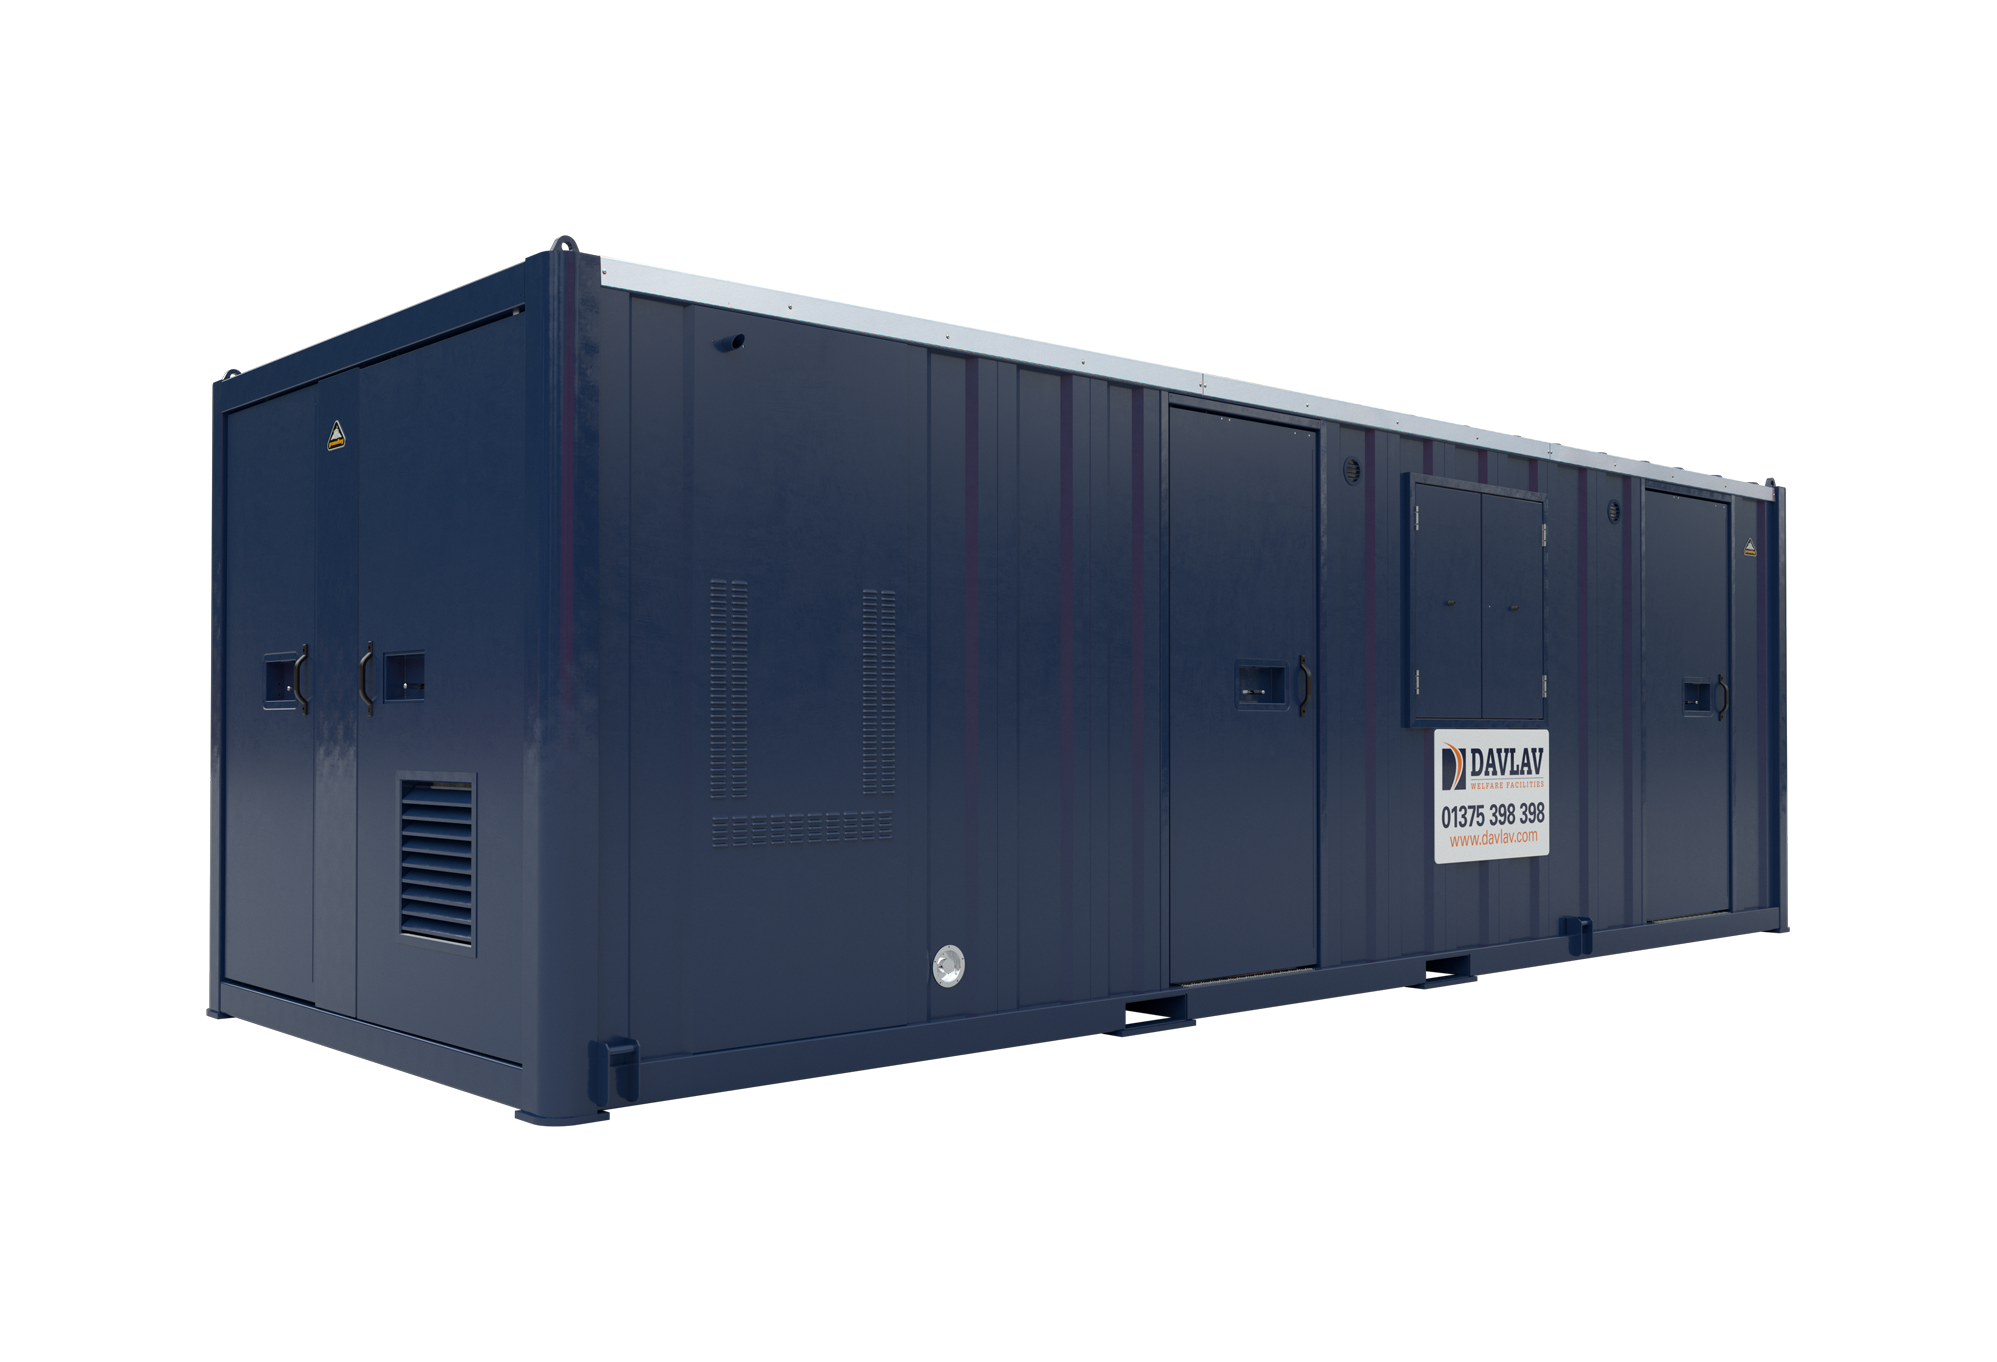
The Davlav welfare range is built to last. Robust, reliable, and trusted across thousands of hire contracts — but when something does go wrong, this guide will walk you through the most common issues step by step.
Select your issue from the list below to get started.
Generator Not Starting
If your generator is not running, work through the checks below in order. Most issues can be identified and resolved on-site without needing to call an engineer.
Step 1: Check if the generator is turning over
Listen for the engine attempting to start. If it is turning over, move to the fuel checks below. If it is not turning over at all, skip to Step 3.
Step 2: Fuel checks (generator turns over but won’t start)
Check the fuel level in the tank. Before reading the gauge, ensure the fuel float is not stuck. If the gauge reads empty or low, add fuel and try again.
Next, check that fuel is reaching the inline filters inside the generator enclosure. If fuel is present but the generator still won’t start, an engineer will need to attend.
Step 3: No turnover and no buzzer sound on startup
Check that the generator remote plug is connected. This is located on the left-hand side of the generator.
Next, check the starter battery level. The battery is located at the front of the generator on the right-hand side and should read 11.5 volts or above. On standard units, the battery is located under the seating in the canteen room.
Step 4: Buzzer sound on startup
A buzzer on startup indicates a low oil level. This check must only be carried out on a cold engine.
Remove and clean the dipstick, then check the oil level. If low, top up via the oil filler pipe. Do not exceed the maximum indicator mark. Use multigrade 5W40 oil or similar quality.
If the generator still does not start after topping up, an engineer will need to attend.
Hydraulics Not Working
If the hydraulics on your unit are not responding, work through the checks below in order.
Step 1: Check for audible sounds when using the remote
Press the up and down buttons on the remote. If there is no buzzer sound, check that the Wander lead hydraulic remote plug is fully connected to the front socket.
Step 2: Check the battery level
If there is still no buzzer after securing the plug, the battery may be insufficiently charged. Check whether the lighting comes on in the canteen area. If it does not illuminate, start the generator and allow it to run for the full 3-hour charge cycle.
After 30 minutes of the generator running, the hydraulics should have enough power to operate.
Step 3: Inspect the hydraulic power pack
The hydraulic power pack is located under the seating on the door side of the canteen area. To access it, remove the top of the seat. Check that all connections to the power pack are secure.
Step 4: Check the hydraulic fluid level
If the connections are secure but the hydraulics are still not working, check the hydraulic fluid level. If the fluid level is low, a qualified engineer will need to attend.
No 12V Power to Appliances
If there is no 12V power to appliances on your unit, work through the checks below in order.
Step 1: Check whether the LED lights are illuminated
If the LED lights are not on, the battery needs charging via the generator.
Step 2: Start the generator
The generator start panel is located below the window at the end of the seating area. Press the on/off button, then press and hold the start button until the generator is running.
Once started, the lights should illuminate within around 30 seconds and power should be restored to the appliances. Leave the generator to run for its full 3-hour cycle to fully charge the battery.
If the lights do not illuminate after starting the generator, call an engineer to diagnose the issue.
Step 3: Check the fuses
If the lights are on but there is still no 12V power to appliances, the fuses need checking. The fuse box is located inside the seating area against the back wall. To access it, remove the top of the seat.
If any fuses have blown, replace them with a fuse of the same amperage.
If the appliances still have no power after replacing the fuses, an engineer will need to attend.
No 230V Power to Appliances
If there is no 230V power to appliances on your unit, work through the checks below in order.
Step 1: Check the 32 amp plug
The 32 amp plug is located on the side of the generator. Ensure it is fully connected to the appliance inlet.
Step 2: Check the MCBs and RCD on the generator
Check that all MCBs and the RCD on the generator are in the up position. If any have tripped, reset them by switching back up.
Step 3: Check the consumer unit
The consumer unit is located above the worktop. Check that all MCBs and the RCD here are also in the up position and reset any that have tripped.
Step 4: Test the RCD on the generator
If everything is in the up position but there is still no power, press the test button on the RCD located on the generator. If this does not trip the RCD, there is a fault that requires an engineer to attend.
No Hot Water
If there is no hot water on your unit, work through the checks below in order.
Step 1: Check the generator
Ensure the generator is running and has been for a minimum of 10 minutes before proceeding.
Step 2: Check the water heater switch (Fusion and Eusion Pulse units)
Locate the water heater isolator switch next to the generator start panel. Ensure the switch spur for the water heater is in the on position.
Step 3: Check the selector switch (Standard units)
The selector switch is located above the worktop. Check that it is set to position two.
Step 4: Check the consumer unit
The consumer unit is located above the worktop. Check that all MCBs and the RCD are in the up position and reset any that have tripped.
Step 5: Check the water heater
The water heater is located inside the seating area against the back wall. To access it, remove the top of the seat. Check that the amber LED light on the water heater is illuminated — this light only shows when the unit is actively heating water.
If the amber LED is not illuminated, replace the 13 amp fuse in the switch spur and check whether the light comes on afterwards.
Step 6: Check the mixer valve
The mixer valve is located next to the water heater. Ensure it has not been turned to cold.
If you have worked through all of these steps and there is still no hot water, an engineer will need to attend.
No Power to the Inverter Powered Socket
If there is no power to the inverter powered socket, work through the checks below in order.
Step 1: Locate the inverter
The inverter is located inside the seating area against the back wall. To access it, remove the top of the seat.
Step 2: Check the power toggle switch
Ensure the power toggle switch is in the on position. Next, check that the plug is located securely and fully.
Step 3: Check the indicator lights
The green light on the inverter should now be illuminated to confirm it is working correctly. If the green light does not illuminate, an engineer will need to attend.
Step 4: Red alarm light — inverter overloaded
If the red alarm light is illuminated, the inverter has been overloaded. To reset it, unplug all appliances from the inverter powered socket, then turn the power toggle switch to the off position. Leave it off for 10 seconds, then turn it back on.
If the green light illuminates after resetting, the inverter is back in working order.
If the green light does not illuminate after resetting, an engineer will need to attend.
Step 5: Appliance drawing too much power
If a specific appliance trips the inverter when plugged in, that appliance requires more power than the inverter can produce. Use an alternative power source for that appliance.
If the inverter trips regardless of what is being used, an engineer will need to attend.
here)
No Water Running
If there is no water running from the canteen or toilet taps, work through the checks below in order.
Step 1: Check if the water pump is running
Listen and feel for any sound or vibrations coming from the pump. If the pump is running, move to Step 2. If it is not running, skip to Step 4.
Step 2: Check the water level
If the pump is running, check that there is sufficient water in the water butt located in the canteen area.
Step 3: Check the non-return valve and inline filter
Ensure the non-return valve is fitted to the blue water pipe inside the water butt. Next, inspect the inline filter for any signs of leakage or damage to the casing. If both are in order but there is still no water, an engineer will need to attend.
Step 4: Pump not running — check for power
Check whether the PIR lighting is working. If the lighting illuminates and the battery level is sufficient, proceed to the fuse checks below.
Step 5: Check the fuses (Fusion units)
The water pump fuse is located in the 12V fuse board. Refer to the plaque indicating fuse positions. Remove and inspect the water pump fuse — if blown, replace it with a new one.
Next, check the foot pedal fuse located inside the seating area against the back wall. If this fuse is blown, replace it.
Step 6: Check the fuses (Standard units)
Check that the PIR lighting is working. If it illuminates and the battery level is sufficient, check the fuses as described above. If the fuses have not blown, an engineer will need to attend.
Step 7: Battery level too low
If the PIR lighting is not working and no fuses have blown, the battery may have dropped to an insufficient level. Start the generator and leave it to run for a full 3-hour cycle. Within approximately 30 seconds the PIR lighting should illuminate. Once it does, check whether the water pump is now operating. If it is still not working, an engineer will need to attend.
Replacing the ProCharge Ultra
If you are replacing the ProCharge Ultra, you will need to reset the programme from battery charge (BC) mode to power supply (PS) mode. Follow the steps below.
Step 1: Locate the ProCharge Ultra
The ProCharge Ultra is located inside the seating area against the back wall. To access it, remove the top of the seat.
Step 2: Start the generator
Press the on/off button and hold the start button until the generator is running.
Step 3: Read the startup display
On startup, the battery charger will initially show 888 in both the voltmeter and ammeter windows. The display will then change to show BC, indicating it is in battery charge mode.
Step 4: Switch to power supply mode
Press either the up or down button to toggle the display from BC to PS, indicating power supply mode. When the display reads PS, press and hold the setup/enter button for 5 seconds to confirm the setting.
The Sterling Power battery charger is now set to power supply mode.
Reset Heating System
If the heating system needs resetting, follow the procedure below in full. If there are multiple faults, you may need to repeat the process until all have been cleared.
Step 1: Turn the heating control on and note the error code
Locate the heater control on the control panel in the canteen area. Turn the heating control to the on position. Make a note of any error code displayed — this may be useful for future reference.
Step 2: Start the generator
Turn on the generator to ensure there is sufficient diesel and battery power for the heating system to operate.
Step 3: Locate and remove the 20 amp fuse
Locate the yellow 20 amp fuse inside the back wall seating area. The inline fuse holder is on the positive side of the battery. Remove the 20 amp fuse from the inline fuse holder.
Step 4: Reset the heating system
Turn the heater control to the off position. Replace the 20 amp fuse in the inline fuse holder, then turn the heating control back to the on position. This will reset the heating faults.
If there are several faults recorded, repeat this procedure until all faults have been cleared from the system.
Step 5: If the heating system is still not working
After clearing all faults, if the heating system remains non-operational and you have either no green light or a steady green light, please refer to the Webasto Heating System guide below.
Water Constantly Running
If water is constantly running from the canteen or toilet taps, there may be an issue with the water pump. Follow the steps below.
Please note: this procedure applies only to units manufactured prior to November 2018.
Step 1: Locate the 12V fuse box
The fuse box is located inside the seating area against the back wall. Refer to the plaque indicating the fuse positions.
Step 2: Reset the water pump
Remove the fuses for both the water pump and the timer switch. Wait 10 seconds, then replace both fuses. This will reset the system.
If the water is still running after the reset, an engineer will need to attend.
Webasto Heating System Not Working
If the Webasto heating system is not working, start by checking the heater control indicator light. Turn the heated dial to the on position and observe the result. There are three possible outcomes, each covered below.
Outcome 1: No green light
No green light indicates there is no 12V power reaching the heating system. Work through the following checks.
Check battery power
Activate the PIR canteen lights. If there is no 12V lighting, start the generator. If the generator starts, there should be sufficient power to run the system.
If the green light or battery indicator display is not on, the battery may have a low charge. Leave the generator running for 15 minutes — after this time there should be enough power to run the 12V system. For a full battery charge, leave the generator to run for a 3-hour cycle.
If the generator does not start, please refer to the Generator Not Starting guide on this page.
Check the battery guard
Activate the PIR canteen lights. If they illuminate, the heater should be receiving 12V power. If they do not come on despite the generator running, the battery guard may need resetting.
The battery guard is located in the canteen area under the back seat. If the battery guard’s indicator light is off, it needs to be reset. To reset it, unplug the blue spade connector, wait 15 seconds, then reconnect.
Check the 5 amp fuse
The 12V fuse board is located under the seating area at the back of the unit. Refer to the plaque indicating the fuse positions. Remove the tan 5 amp fuse for the heating system. If it has blown, replace it with a new 5 amp fuse.
Check the 20 amp fuse
The yellow 20 amp fuse is located inside the seating area against the back wall. The inline fuse holder is on the positive side of the battery. Check whether the fuse has blown and replace with a new 20 amp fuse if necessary.
Check the multi-pin plug
Locate the multi-pin plug on the side of the heater and ensure it is firmly connected.
Check all electrical connections
Check all wiring connections to the battery and the 12V fuse board. Secure any that have become loose or detached.
If you have completed all of the above checks and the green light is still not illuminating, an engineer will need to attend.
Outcome 2: Steady green light but no heat
Leave the heating system to run for approximately 15 minutes, then recheck. If there is still no heat, check that the vents and decking are not blocked or restricted.
It is also worth noting that if the cabin has already reached its set temperature, the heating system will automatically pause and resume once the temperature drops below the set level.
If there is still no heat after performing these checks, an engineer will need to attend.
Outcome 3: Flashing green light
A flashing green light indicates a fault has been detected in the system. The fault is communicated via an error code generated by a series of flashing green lights.
To read the error code, count the number of long flash pulses. These will be separated by a series of five rapid flashes. For example, three long pulses indicate error code 3.
Most error codes can be cleared by performing a heater reset. Please refer to the Reset Heating System guide on this page. If an error code remains after the reset has been performed, an engineer will need to attend — please have the error reference code to hand when calling.